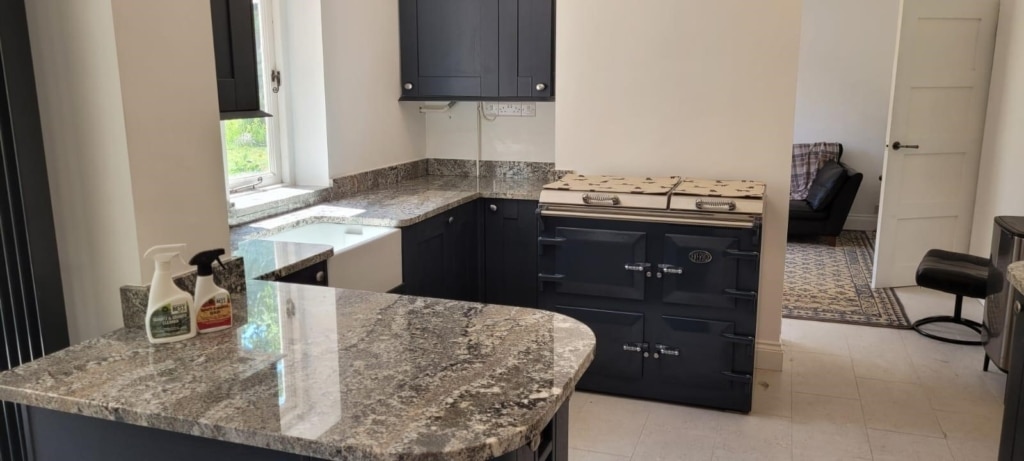
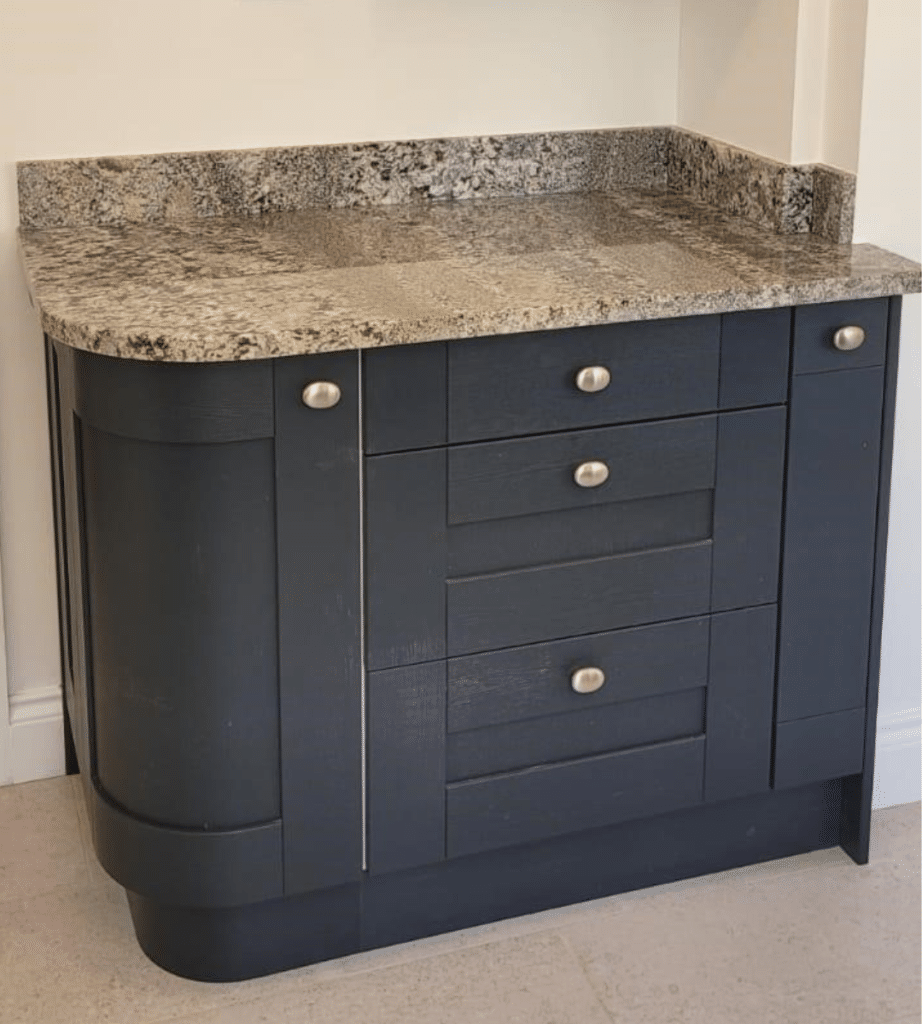
This client was looking for a unique granite worktop that would elevate their brand new kitchen. We were able to work with the client through this process, to create their perfect worktop.
Step 1 – Sourcing the granite sheet
The first step in creating this worktop was to source the granite sheet. The client had a clear idea of what they were looking for in terms of colour and pattern, so we helped them to source a sheet that matched their criteria and existing elements of their new kitchen. This particular granite sheet was called Lennon Blue granite.
Step 2 – Design and templating
The first task in this phase of the kitchen worktop, was to determine the exact measurements. Our team were able to digitally template the space in the new kitchen, to ensure that the worktop was a perfect fit. This also allowed our Sales team to determine how many sheets of the granite would be required to produce this worktop.
Our Digital Mason then produced a CAD drawing of the worktop, from the measurements taken during templating.
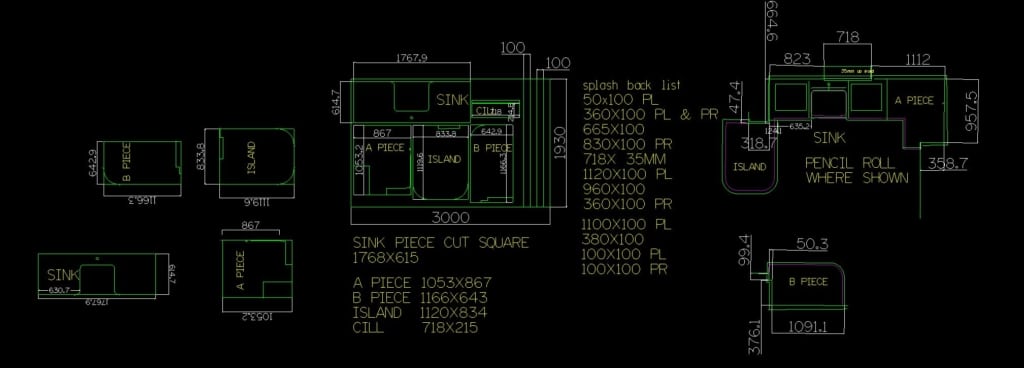
We were then able to discuss the design elements and options with the client, including the following:
- Edge profiles – the client chose pencil-rolled edges.
- Tap holes – the client opted for one tap hole.
- Sink cut-outs – the client chose a Belfast sink cut-out.
- Additional details – in this project, the client chose to have a matching window cill, and upstands.
These are just some examples of the bespoke details we can add to a kitchen worktop. We can also include drainage grooves, different sink cut-outs, hob cut-outs, and anything else you might want. We are here to create your perfect worktop, the way you want it.
Step 3 – Fabrication of the worktop
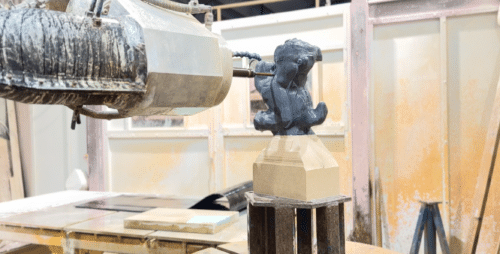
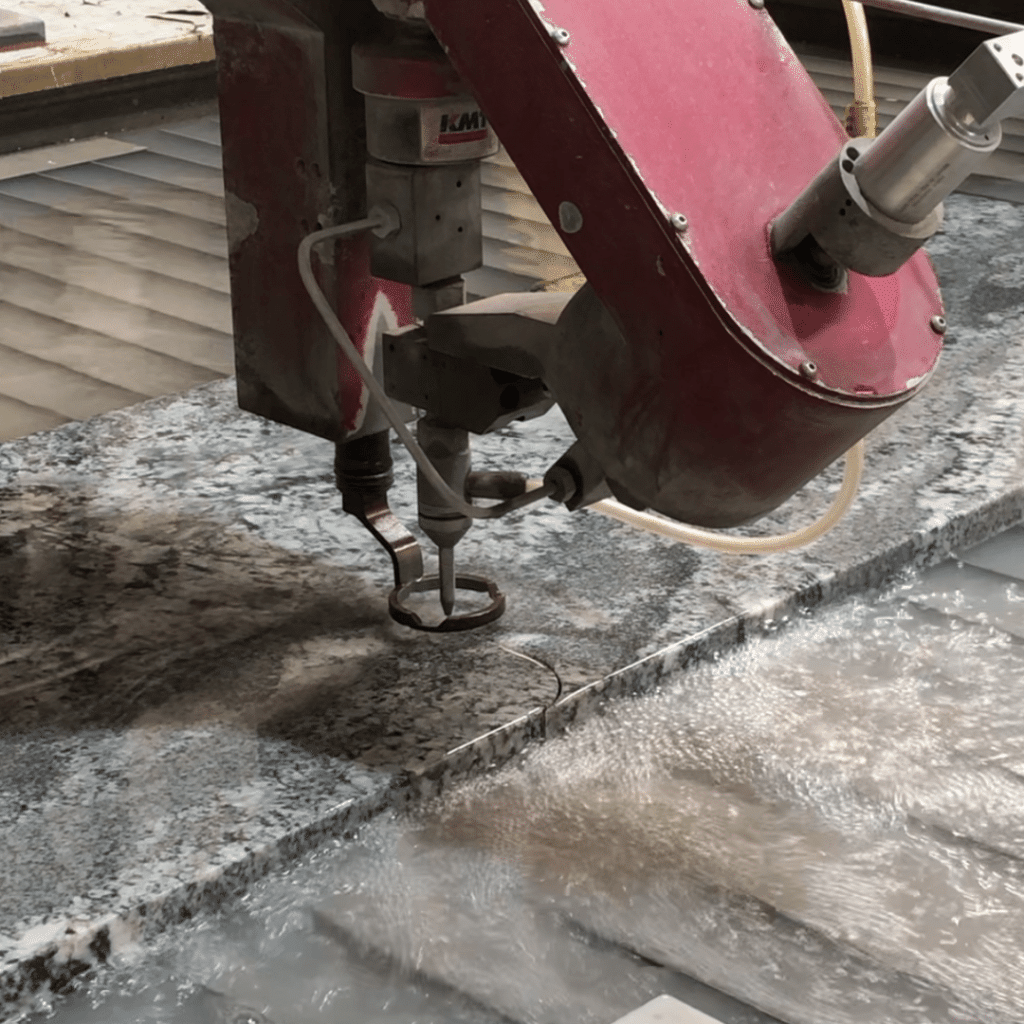
At Stoneworld, we are proud to have a high-tech on-site masonry workshop, equipped with the latest technology in stone cutting and carving. This means we have the ability to produce anything from stone, using our water-jet cutter, 7-axis stone carving robot and other machinery.
The finished CAD drawing was then programmed into our saw and water-jet cutter, and the fabrication began.
Step 4 – Installation
Our in-house masonry team install each worktop. This ensures an effective turn-key operation, as the same skilled workmen who produce the worktop fit it into your home, ensuring it is finished to the highest standard.
Step 5 – Aftercare and maintenance
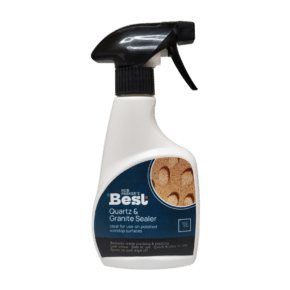
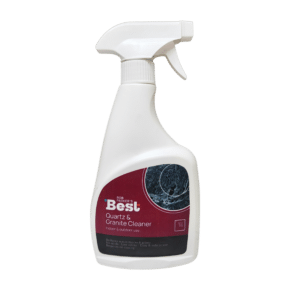
We will always recommend sealing your kitchen worktop, meaning it will be easier to keep clean and care for once it has been installed. We have a range of stone care and cleaning products available to help you care for your worktop – our Rob Parker’s Best range.
In this case study, we recommend using Rob Parker’s Best Quartz and Granite Sealer to protect all granite, quartz and marble kitchen worktops and surfaces. Scientifically developed with Nano technology, the molecules are smaller than the pores in the stone, so it will seal the granite worktop by getting right into the surface structure of the worktop.
If you have any questions about our bespoke kitchen worktops, or if you would like to talk to one of our team, you can call us on 01844 279274 or email us at sales@stoneworld.co.uk and we will be happy to help.
Alternatively, you can complete our enquiry form below and one of our team will get in touch with you.


