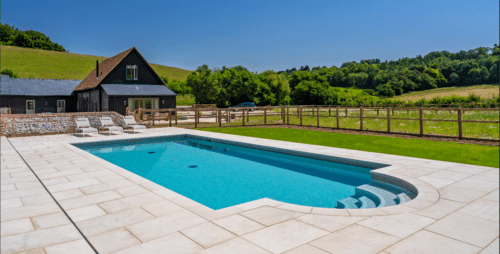
Read this to learn all you need to know about the best way to lay a natural stone patio. These recommendations apply for all our sandstone paving products.
Please read through before starting your project, as there are some points that only apply to certain products.
1. Prepare the site
Dig out the area to be paved, ensuring adequate fall is allowed for drainage away from any abutting buildings, to ensure water does not stand on paved area after rain. A fall of about 1:100 should suit most situations.
2. Lay the sub base
When using our recommended jointing compound, Residual (see below), it is imperative that a firm, but FREE DRAINING sub base is prepared before laying slabs.
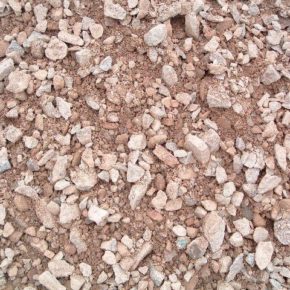
This should be 75-100mm of Type 1 Sub Base>>, available from Stoneworld.
Buy now
We recommend that to cover an area with 75mm depth of sub base you will need 1 tonne of material for every 9 sqm. Once laid, compress the sub base into position using a plate-wacker, ensuring a good firm surface is achieved. Failure to do so will result in trapped water underneath the patio resulting in cracking and subsidence.
3. Some paving should be sealed before laying
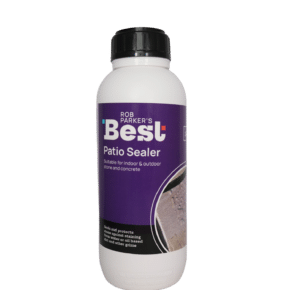
Very pale paving, particularly sandstone and York stone benefits from being sealed before the paving is laid. We recommend using Rob Parker’s Best Patio Sealer to do this.
Buy now
4. Which way up?
When laying our hand-cut or tumbled sandstone or Black Limestone pavers you will notice that there is a graded edge, making one surface larger than the other. For a more uniform surface, it is recommended that these slabs should be laid with the more even, larger surface uppermost.
See this blog about using natural stone pavers the right way up.
When using our sawn paving, the edges are straight, but the underside is calibrated making it more obvious which way is meant to be uppermost.
4. How to lay the paving slabs
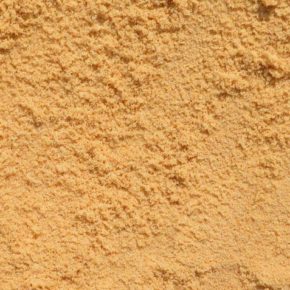
We recommend slabs be laid on a full bed of wet mortar as this enables you to adjust individual slabs allowing for any variations in thickness. At Stoneworld we recommend wet mortar is made using mixed soft sand – a 50/50 mix of soft and sharp sand, and cement at a ratio of 5:1 with adequate water to create a firm but wet rather than damp mortar. We advise using this particular sand mix to create the ideal medium for your natural stone slabs to be laid on. We advise this as 100% soft sand, used by some builders, can create problems, as the wet mix doesn’t have the strength to support the pavers whilst wet.
Buy now
5. Tamping natural stone slabs into position
After placement of paving slabs onto the wet mortar bed, they should be tamped into position using a rubber mallet, tapping firmly on each corner whilst checking the level in each direction as you go. The wet mortar is quite forgiving at this stage, and this helps the placement of the slabs in the perfect position. If you are laying very light coloured paving, it is advisable to use a white rubber mallet to avoid unnecessary marking.
6. How much space to leave for pointing gaps between laid paving slabs
As you position slabs, leave pointing gaps of 10-15mm between each slab.
The graded edge becomes an important part of the final strength of the structure. As the mortar sets around the slab.
With sawn paving it is possible to reduce the pointing gap to 3-5mm.
7. Ensure correct blend of slabs by selecting individual slabs from several project packs at a time
Colour and tonal variation will occur in natural products. This means that when using several project packs, slabs should be blended throughout the project to produce an overall natural appearance by selecting from all crates as the patio is laid.
8. Sealing the paving
Please ensure that if you intend to seal your patio to protect it from staining, then sealing should be completed before pointing the paving. We recommend using Rob Parker’s Best Patio Sealer to seal your stone, in order to protect it in the long term. It will preserve the original colour by making it easier to remove stains and dirt.
Buy now
9. Pointing the slabs
When the patio has been laid, it is necessary to fill the pointing gaps.
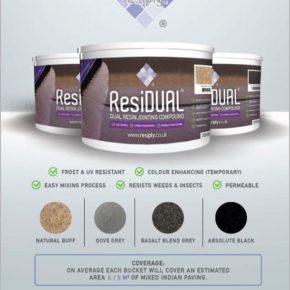
We recommend the use of ResiDUAL for the pointing of all joints in natural stone paving. It creates a permeable joint enabling surface water to drain through – providing the correct sub base has been laid first! (See above). Having tested all the various methods and materials over the years, we find this product to be the most reliable and durable. Various colours are available and we are happy to advise on the most suitable for your chosen paving.
Sandstone flags should be pointed with 10-15mm joints between each slab.
Sawn paving can be pointed with 3-5mm joints between each slab.
Buy ResiDUAL now
Advice for laying some of our other products
Laying pale sandstone slabs
Pale sandstone paving is particularly porous and therefore we recommend sealing before laying the paving.
Laying porcelain and limestone paving slabs
Lay porcelain and limestone paving on a sub base as explained above.
se a wet mortar mix method as previously discussed.
However, please note the following:
To aid adhesion it is necessary to ‘paint’ the back of the slab with a slurry mix before laying. This should be made from the mortar mix with added PVA. The addition of PVA is just for the slurry mix not for the main mortar you will be using to lay the patio.
Laying travertine paving slabs
Travertine pavers should be laid butted up (i.e. no gaps) and therefore they do not require pointing. It is possible to lay travertine paving on a sand sub base.
Once your patio is laid, we recommend using our Rob Parker’s Best stone care and maintenance products to keep your stone looking beautiful.
If you have any questions, please call us on 01844 279274 or email us at sales@stoneworld.co.uk and our team will be happy to help.


